DIY tutorial by Xenia Kuhn, a Berlin-based fashion designer

Assemble your materials

Fold the knit in fourths so you have 4 layers.
Place the tape measure on the corner, measure down the half of the wingspan, and draw the circle with the chalk.
Measure down the neck radius and draw the neckline.
Cut out the cape pattern.
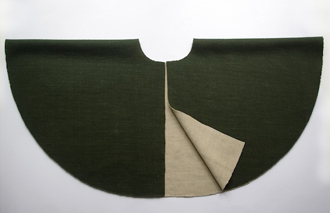
Draw and cut out the hood pattern.
Pin the edges of the hood.
Sew the parts together with the zigzag stitch.
Put a plastic hand gauge under the feet so the seam doesn’t stretch.
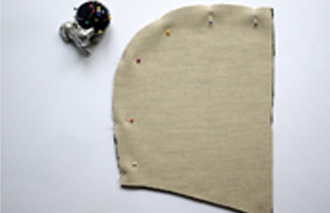
Flatten the seams with an iron if it’s stretched.
Turn 2 cm (1.6″) outside the hood edges and front of the cape. That way you will have a contrast piping.
Seal the seams with the zigzag stitch.
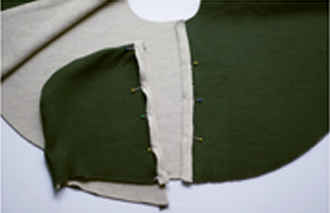
Find the middle of the neckline, match it to the middle of the hood and pin it together. Pin the bottom seam of the cap.
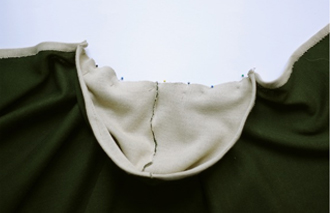
Seal the seam with contrast zigzag stitching.
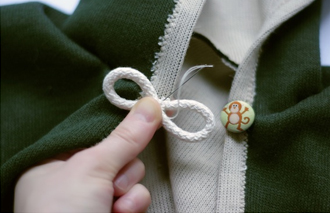
Make an eight shape from the cord and sew the ends together.
Attach the cord closure and button to the neck.
Cut out the ears.
Turn the ears inside out and iron them flat.
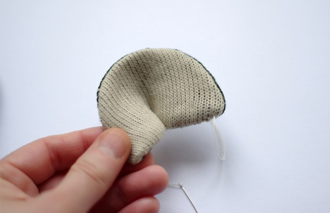
Attach the ears to the hood.
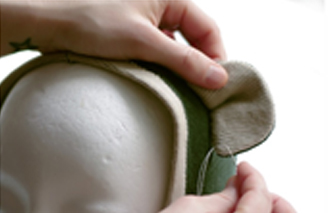
And voila! The cutest kid on the block!

Many Etsy sellers are Moms just like you.
Open a shop on Etsy.com—the online marketplace for handmade and vintage products—and sell what you make or collect to millions of people around the world.
Get 20 free listings when you open your first Etsy shop. After that, it costs only 20 cents to list an item for four months.
Xenia and her family emigrated to Germany from the former Soviet Union in 1995. After graduating with a degree in Fashion Design from a Berlin Fashion School, she went to New York City to work as a designer for the luxury label Natori. While in New York, she discovered Etsy. She returned to Berlin two years later to start her shop. In addition to running Xenia Kuhn, she designs costumes, authors a blog and posts videos to YouTube.
Tagged under: Handmade,diy,Etsy,handcrafted,kids fashion,clothes for kids
Category: mom-101


